


Hot Sale Factory Direct Price Russian Men Womens Winter Windproof Earflap Faux Fur Trapper Hats Warm cap
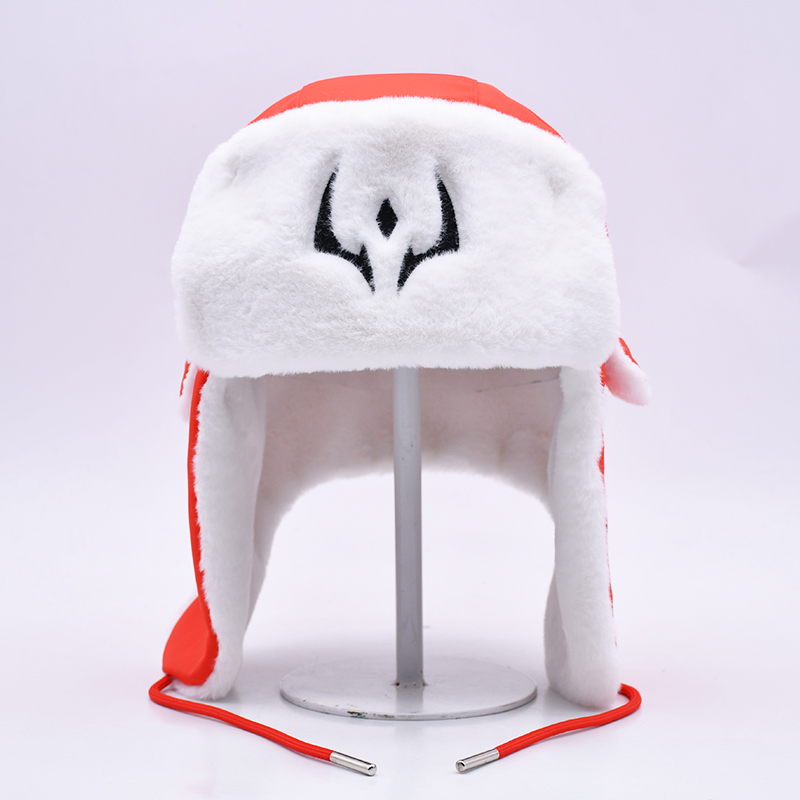
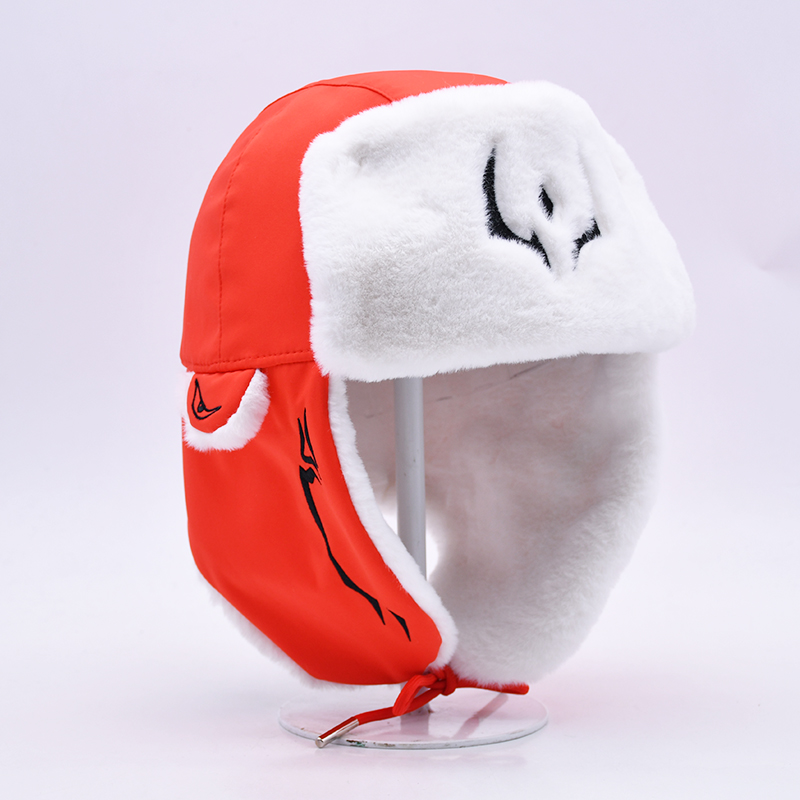

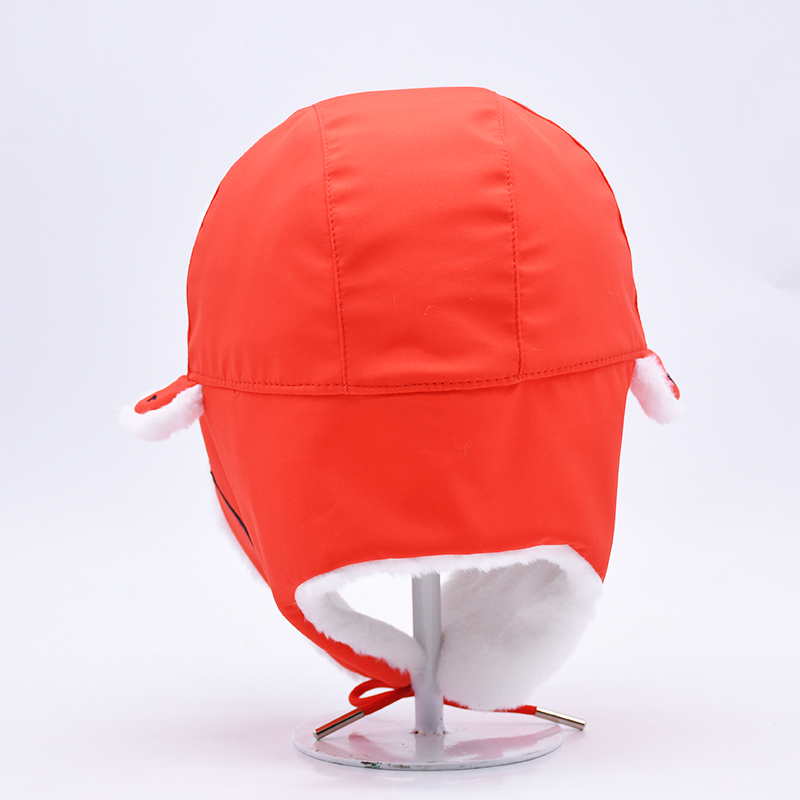
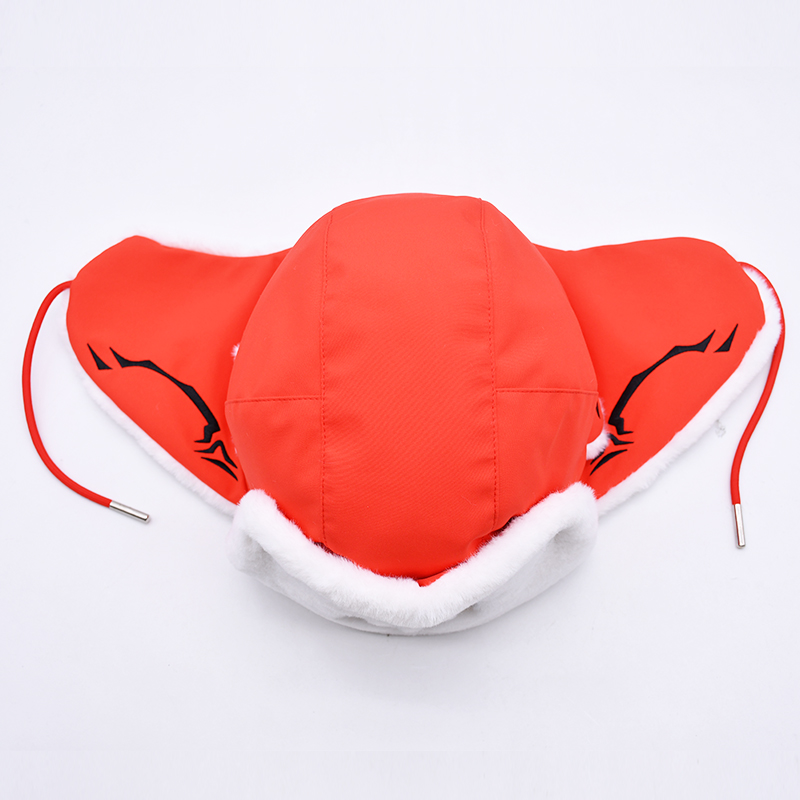
About the custom trapper hat:
Creating a custom trapper hat allows you to tailor the design, materials, and features to your specific preferences and needs. Here’s a step-by-step guide to help you design your own custom trapper hat:
Step 1: Design Concept
Inspiration: Look for inspiration from traditional trapper hats, modern designs, and other winter headwear. Consider what elements you like and what you want to incorporate into your custom hat.
Sketch: Draw a rough sketch of your hat design. Include details like the shape, ear flaps, and any additional features you want.
Step 2: Choose Materials
Exterior Fabric: Select a durable and weather-resistant material for the outer shell. Options include:
Nylon: Lightweight and water-resistant.
Polyester: Durable and often water-resistant.
Wool: Warm and stylish, though not always water-resistant.
Lining: Choose a soft, insulating material for the interior lining. Options include:
Fleece: Soft, warm, and moisture-wicking.
Quilted Fabric: Provides extra insulation.
Sherpa: Offers a plush, cozy feel.
Faux Fur: Decide on the type of faux fur for the ear flaps and trim. High-quality faux fur can mimic the look and feel of real fur without ethical concerns.
Additional Materials: Consider any additional materials you might need, such as:
Velcro or Snap Closures: For securing the ear flaps.
Chin Strap: For added security in windy conditions.
Decorative Elements: Such as embroidery, patches, or custom labels.
Step 3: Measurements and Fit
Head Size: Measure the circumference of your head to ensure a proper fit. Most trapper hats are designed to fit snugly but comfortably.
Ear Flaps: Determine the length of the ear flaps to ensure they provide adequate coverage and protection.
Step 4: Construction
Pattern Making: Create or obtain a pattern for your trapper hat. You can find patterns online or create your own based on your design sketch.
Cutting: Cut the fabric pieces according to your pattern. Be precise to ensure all pieces fit together correctly.
Sewing: Sew the pieces together, starting with the main body of the hat and then attaching the ear flaps and any additional features. Use a sewing machine for durability, but hand stitching can be used for finer details.
Finishing Touches: Add any final details, such as closures, chin straps, or decorative elements.
Step 5: Testing and Adjustments
Fit Test: Try on the hat to ensure it fits comfortably and provides the desired level of warmth and protection.
Adjustments: Make any necessary adjustments to the fit or design. This might include altering the length of the ear flaps, adjusting the fit around the head, or adding additional insulation.
Step 6: Final Touches
Cleaning: Clean the hat according to the care instructions for the materials used.
Storage: Store the hat in a cool, dry place to maintain its shape and quality.
Customization Options
Colors and Patterns: Choose colors and patterns that reflect your personal style.
Personalization: Add initials, names, or custom embroidery to make the hat uniquely yours.
Functional Additions: Consider adding features like a built-in face mask, reflective elements for visibility, or pockets for small items.
By following these steps, you can create a custom trapper hat that is both functional and stylish, perfectly suited to your needs and preferences. Custom trapper hats create a unique and personalized winter accessory.


